
-

Free transport
-

24/7 security
-

Lowest price
-

Rent from one week
-
Free transport
-
24/7 security
-
Lowest price
-
Rent from one week
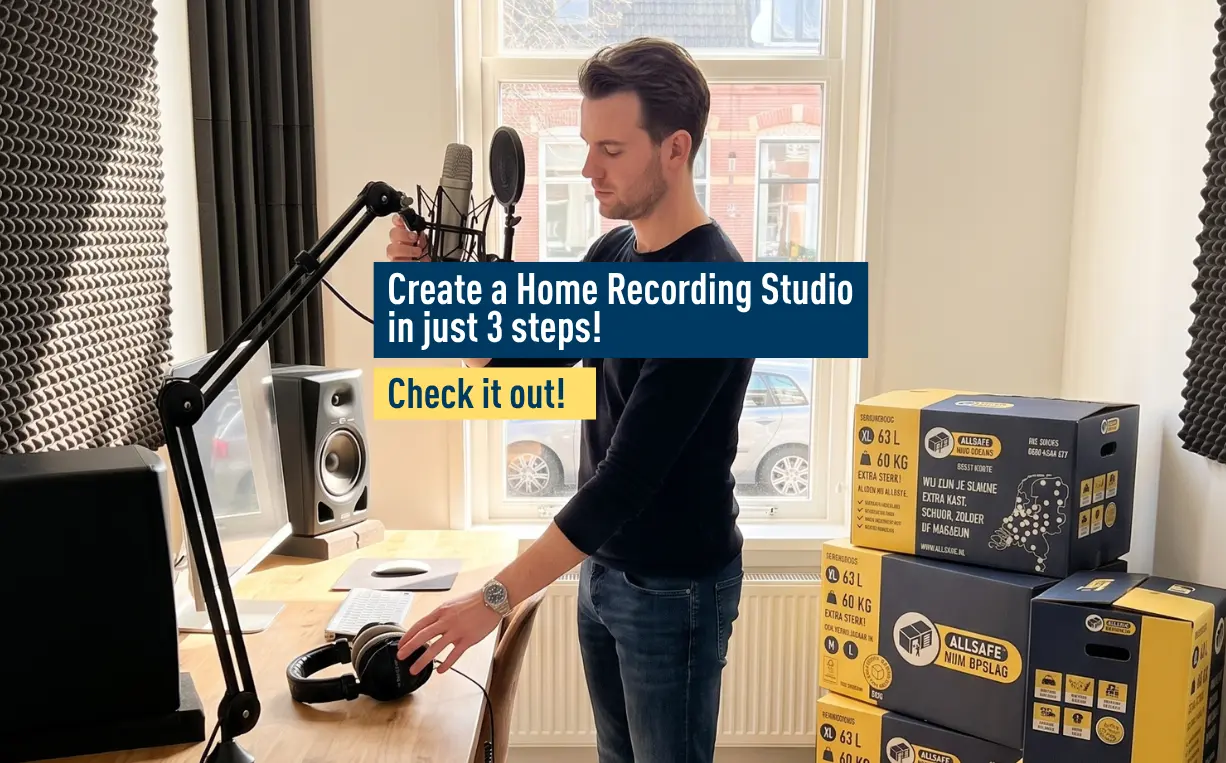
Create a Home Recording Studio in Just 3 Steps!
 Living tips
For many musicians, having a recording studio at home is the ultimate dream. Renting an external music studio can be extremely expensive, with a full day often costing around €275. The challenge is to create the ideal space at home with effective sound insulation, so you can record whenever you like without disturbing your neighbours. With the three steps below, you can create your own home recording studio.
1. Decide Which Room Will Become Your Soundproof Studio
The first step is choosing which room will become your recording or music studio. In general, the higher the ceiling, the better.
Do you have an attic with sloping walls or ceilings? Or a room where the walls are not parallel? Then this may be an ideal space. A recording studio has better acoustics when sound waves are dispersed throughout the room instead of bouncing back and forth between two flat surfaces.
Would you rather use a room with straight walls and a flat ceiling? You can still improve the acoustics by installing false walls, corner panels or other acoustic features.
2. Clear the Room to Make Space for Your Instruments
The second step is to completely clear the room. For good acoustics, it is important to remove everything that does not belong in the studio. This is also a great opportunity to declutter.
Divide the items in the room into three groups:
- Items you want to keep and use regularly
- Items you want to keep but only use a few times a year
- Items you no longer expect to use
For the belongings in the first group, you will need to find another place in your home. With practical storage furniture, this should not be a problem.
Because you rarely use the items in the second group, it would be a waste to let them take up valuable space at home. A good solution is to store them at ALLSAFE Mini Storage. An external storage unit is secure, heated and accessible every day.
Think of winter sports equipment, hobby supplies and seasonal clothing. These are items you may not use for months at a time, making external storage a suitable solution. You can rent a storage unit with space for around ten moving boxes from as little as €1.40 per week.
3. Soundproof Your Studio and Improve the Acoustics
The final step is to install effective sound insulation so your neighbours will not be disturbed. You also need good acoustics to achieve the best possible music production. It is important to understand the difference between soundproofing and acoustic treatment.
Soundproofing prevents sound from escaping from the room, so people outside cannot hear you. In other words, it isolates the space.
Acoustic treatment improves the way sound behaves and sounds inside the room.
Basic Soundproofing Elements
Make sure all doors and windows close properly. Most sound escapes through small gaps. You can use rubber sealing strips around doors, windows and frames to reduce sound leakage.
A room with many windows allows more sound to pass through, so make sure the windows are well insulated. Double glazing and soundproof curtains can help.
You can also use sound-insulating panels. Acoustic wall panels can both improve the sound inside the room and help reduce noise transmission.
Basic Acoustic Treatment Elements
Make sure there is sufficient ventilation, particularly when you are not recording. Fresh air is important for both you and your recording equipment.
Install acoustic wall and ceiling panels. These are widely available online and improve the quality of your recordings by absorbing unwanted reflections and echoes.
With these three steps and tips, you can create your ideal recording studio at home while using sound insulation to prevent noise disturbance for your neighbours.
Do you have any additional tips or questions? Leave a comment below!
Related articles

Create a Cozy Winter Garden with These Inspiring Ideas
Garden ideas to keep you warm Brrr, perhaps the most important thing if you want to use ...
Autumn Garden Maintenance – Tips for Preparing Your Garden for Winter
Preparing the Outdoor Tap for Winter Convenient, isn’t it? An outdoor tap ma...

Building Your Own House: How Much Does It Cost and What Should You Consider?
The details behind the details Unlike buying an existing property, b...